 Here is the PVC pipe for the new sewage hookup. The old one was clay that was cracked due to the large maple trees roots.
 Here they are topping off the pipe with crushed stone before back filling.
 Here they are back filling with topsoil.
 Here is the trench for the new water service. We had to tap into a new service junction and then cap the old connection.
 Here is Bruce uncoiling and laying the new copper water line in the trench.
 Here the line meets the street. They then had to bore underneath the street.
 Before boring under the street, they had to add a shut off valve.
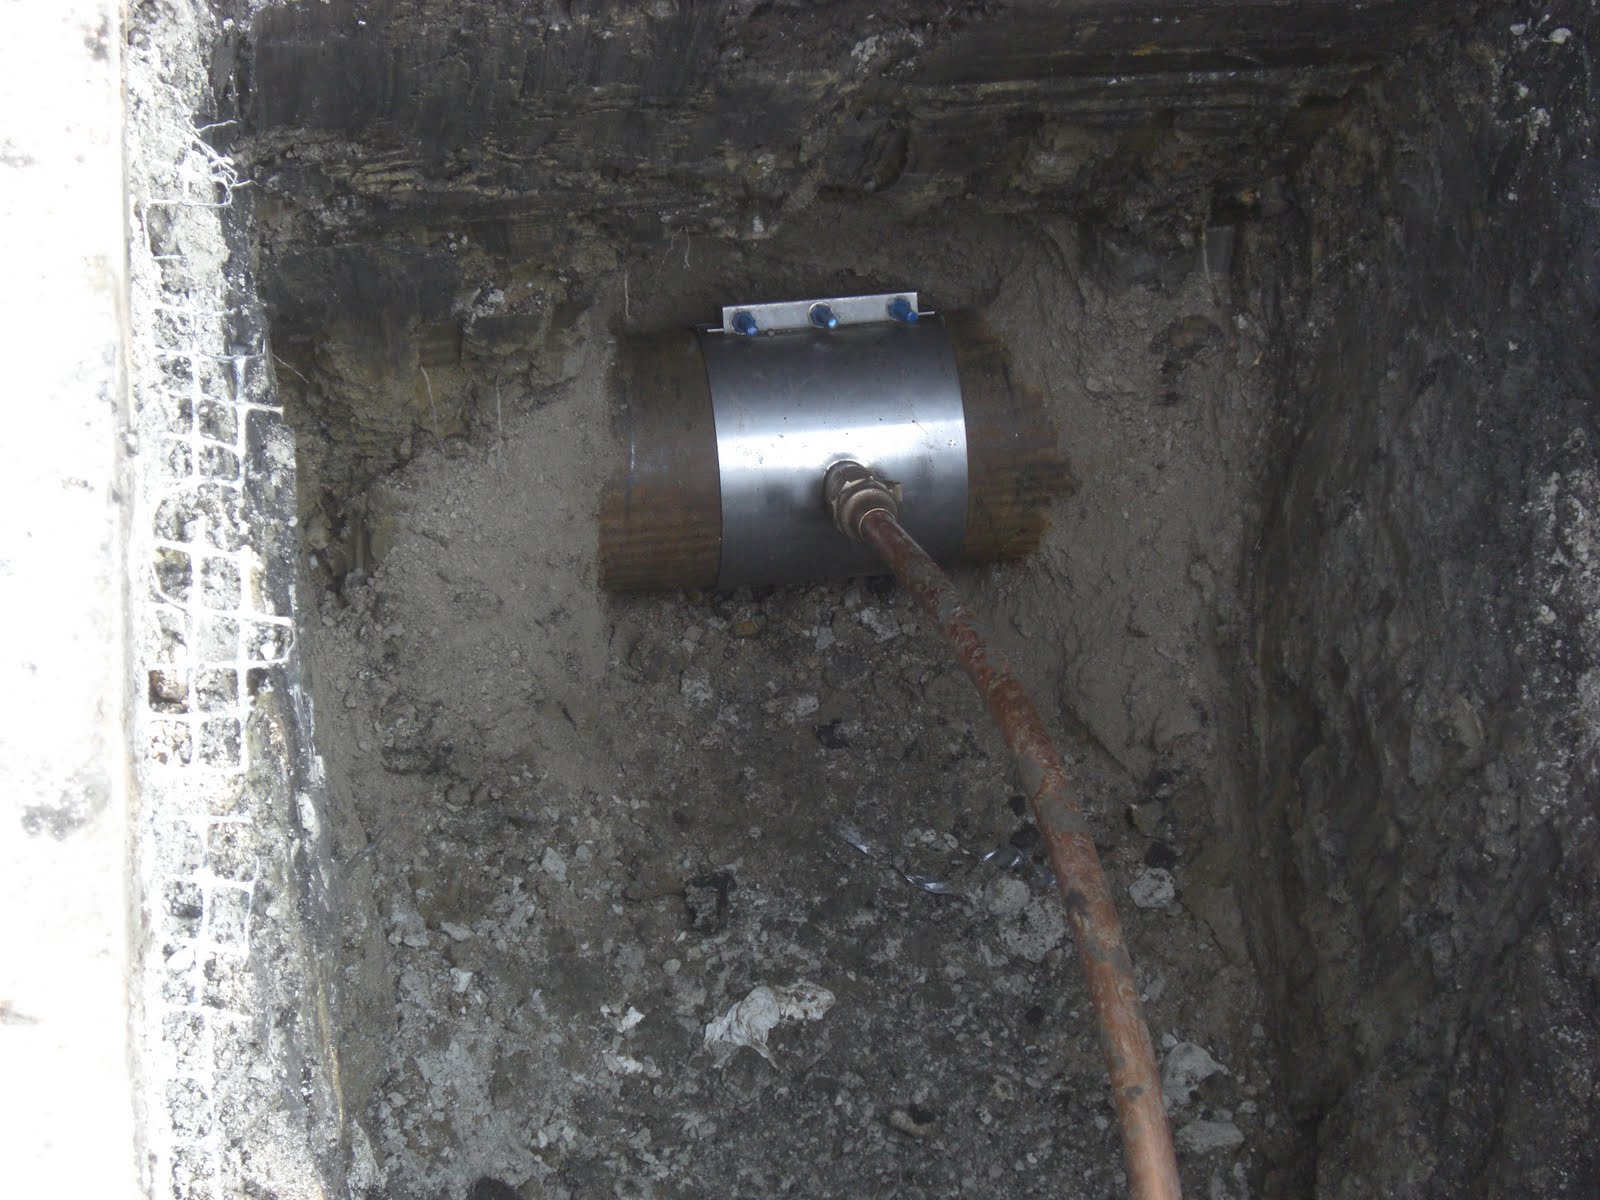 Here is what the tap into the water line looks like. We also had to get a larger meter due to the larger pipe.
 Here they are digging another hole into my neighbor's yard. This was to cap the old tap we had into the water line. Happily, this is the last time we should have to dig up his yard.
 Here is all that is left of the hole for the new tap in. It will be topped off shortly with asphalt.
 Here is one of the large return ducts that goes across the old attic space. The return duct is completely insulated as well.
 Duct lines running up to the master bedroom.
 Here are the main trunk lines that will tie into the furnace.
 The duct line here is going into the master bathroom. Since it is going under the balcony outside, it has to be insulated.
 Here is the main return next to the basement steps. You can also see the gas line that is going to the fireplace.
 This is a back view in the basement of the duct lines and where the furnace will connect up.
 The puzzle of duct lines.
 Duct lines and water lines in the basement.
 More ducts.
 Ducts to the master bathroom mixed with electrical box.
 The electrician started this week. Yeah, electrical boxes.
 Her are the pot lights and fan box in the upstairs family room.
 This is the row of pot lights in the master bath.
 The master bedroom pot lights and fan box.
 These are for three wall sconces in the stairwell.

Here are the pot lights that will be on the balcony.
 Here are the outlets for the bathroom, which include the power outlets, the switch for the fan/lights, and one for the thermostat for the radiant floor heating.
 More switch boxes. It is interesting to see how the piping is laid out.
 Lose up of one of the Juno pot light housing. The top of the box is insulated and fire rated so that it will not burn the insulation in the attic thus causing a fire.
 Along with the interior piping, the plumbers added to spigots outside.
 Here is what a bathtub drain hookup looks like from the underside.
 Here is the main stack line that is connected to the new sewer pipe outside the house.
 This is an ejector pump for sewage. This pump is for the fixtures to drain to and if it floods and the sewage starts coming back into the house, the check valve will shut off and no sewage should then flood the house.
 Here is another shot of the ejector pump and the main stack line.
 This is the water main line hookup with the main shutoff valve that will then be hooked up to the water meter.
 This water line to the upstairs toilet caused a lot of discussion. The first idea was to drill through the main structural beam. Instead we decided to go under it since there will already be a soffit that is being built around it and will ultimately hide the pipe.
 Close up of the water pipe.
 Here are many drains that all converge with the water lines around it. The water lines are going to the laundry room and the drains are form the upstairs bathroom and laundry room.
 This is the master bathroom shower rough in. The water lines and valves are all connected.
 Here are the master bathroom faucet rough ins. They will be mounted to the wall rather than the vanity top.
 This is a insulated vent pipe for the bathroom fan. All the vents will have these running to the outside of the house
 Here is one of the Panasonic bath fans we have. These fans are one of the best out there. They are so quite that you think they are not running.
 Here is a shot of the bathroom fan hooked up to the vent.
 These are the vents outside.
 This is where the master bath fan vents will be located.
 More vents surround a pot light over the bathtub. This is GFCI rated for use in wet locations.


