Week 18: This week brought significant changes inside and outside the house. On Monday we had our rough mechanical inspection. It was interesting to walk through with the village inspector and listen to what they are saying. There were a couple items that really did not make a whole lot of sense and I must commend Mike for keeping his cool. We met for over an hour going through the plans and what they wanted changed. One change is that we had to put a gas shut off valve to the fireplace in the framed structure and have an access panel to it. I think that will look crappy to have to have a door when we could have easily just put the shutoff in the basement. The inspector was adamant about it being there. So we will have to comply. We have to get some drawing from the architect on a couple items and add a little more support here and there. Overall it went pretty well. They did not stop us from continuing on with the next phase which is insulation. The inspector also made a comment on the framing of the vaulted ceiling that it was some of the best he has seen and is very solid. It gives us comfort to know that they are doing it right. On Tuesday, the insulation started. We were able to install the insulation but before we can continue past that, we need to have a re-inspection and the new drawings. We have several layers of insulation, with the first layer being closed cell spray foam. It is a polyurethane that dries quickly and acts as a vapor barrier as well. I think we have about an inch of that. We would have done a thicker layer if the cost was more economical. Instead, we added a second layer of blown in cellulose. This is a wet cotton like substance that sticks when sprayed. It did look like a snowstorm in there with the cellulose floating around. In some walls, namely downstairs, there is a third layer of the pink batt insulation. This is because with the cinder blocks and inside framing, the wall cavity is large. Before they even started the spray foam they went around and sprayed a low expansion spray foam in all the cracks in the walls. Since the walls are not sheets of plywood, but individual boards, there were gaps in between. They also had to spray a orange foam in all the holes and around the conduit, HVAC ducts and pipes as a fire stop. Mike said the R value of our insulation is going to be between an R20 and R30. It is going to be a tight house and comfortable. I was able to be over there with shorts and a t-shirt with a window and door open and felt very comfortable. Now if we pass the re-inspection, we can go to the drywall phase. The drywall will be delivered and we hope to start on Wednesday. John the electrician is still busy now pulling the wire to the main electrical panel and will be hooking them up this week. Outside, John from J2 Concrete, came by and cleaned the basement, fixed the window wells and put in the windows and fire escape ladder. He also finished the rough grading, which makes the outside look even better. Gone are the last of the big dirt piles. He next will be pouring the cement for the piers under the stairway bump out and the sidewalks, pouring the pad for the air conditioner, and pouring the porch and cement stairs at the front door. We are still trying to nail down the siding options we want. The siding design that Ferd our architect designed is not going to work with the cement board so we have been looking at other designs. We hope to have this done by Monday so that Mike can order the supplies.

Here they used a low expansion foam to fill in all the gaps between the boards. It took most of one day to do this.

Here is the orange fire stop spray foam that seals the cracks around a HVAC duct.

Here you can see it around the electrical conduit and drains.

More fire stop around the conduit and data cables.

Here they used foam and caulk to seal the cracks.

Here is the first layer of insulation. It is closed cell spray foam. This is the master bathroom west wall.

Here is the south wall in the kitchen with spray foam.

The master bedroom with spray foam.

South wall of the master bedroom with spray foam.

Here the spray foam was used in the crevices under the floor joists.

This is the skylight in the master bathroom with spray foam.

Here is the vaulted ceiling with spray foam at the end over the master bathroom.

Here is the second layer of blown in wet cellulose.

Blown in cellulose.

Master bath West wall with cellulose.

Here is the kitchen with cellulose.

Cellulose in a bedroom.

Master bedroom with cellulose.

This is the ceiling in the master bedroom. They put these up to allow air flow behind them so that the attic space can breath. It also helps keep the foam from shooting out the side of the house.

This is what the ceiling loos like afterwards. They put a fiberglass mesh screen over it to keep the cellulose from falling down.

Here is a shot of the master bedroom East wall and ceiling.

Here is the vaulted ceiling going to the master bathroom.

This is the kitchen ceiling. The insulation is there because of the balcony above it.

More of the kitchen ceiling.

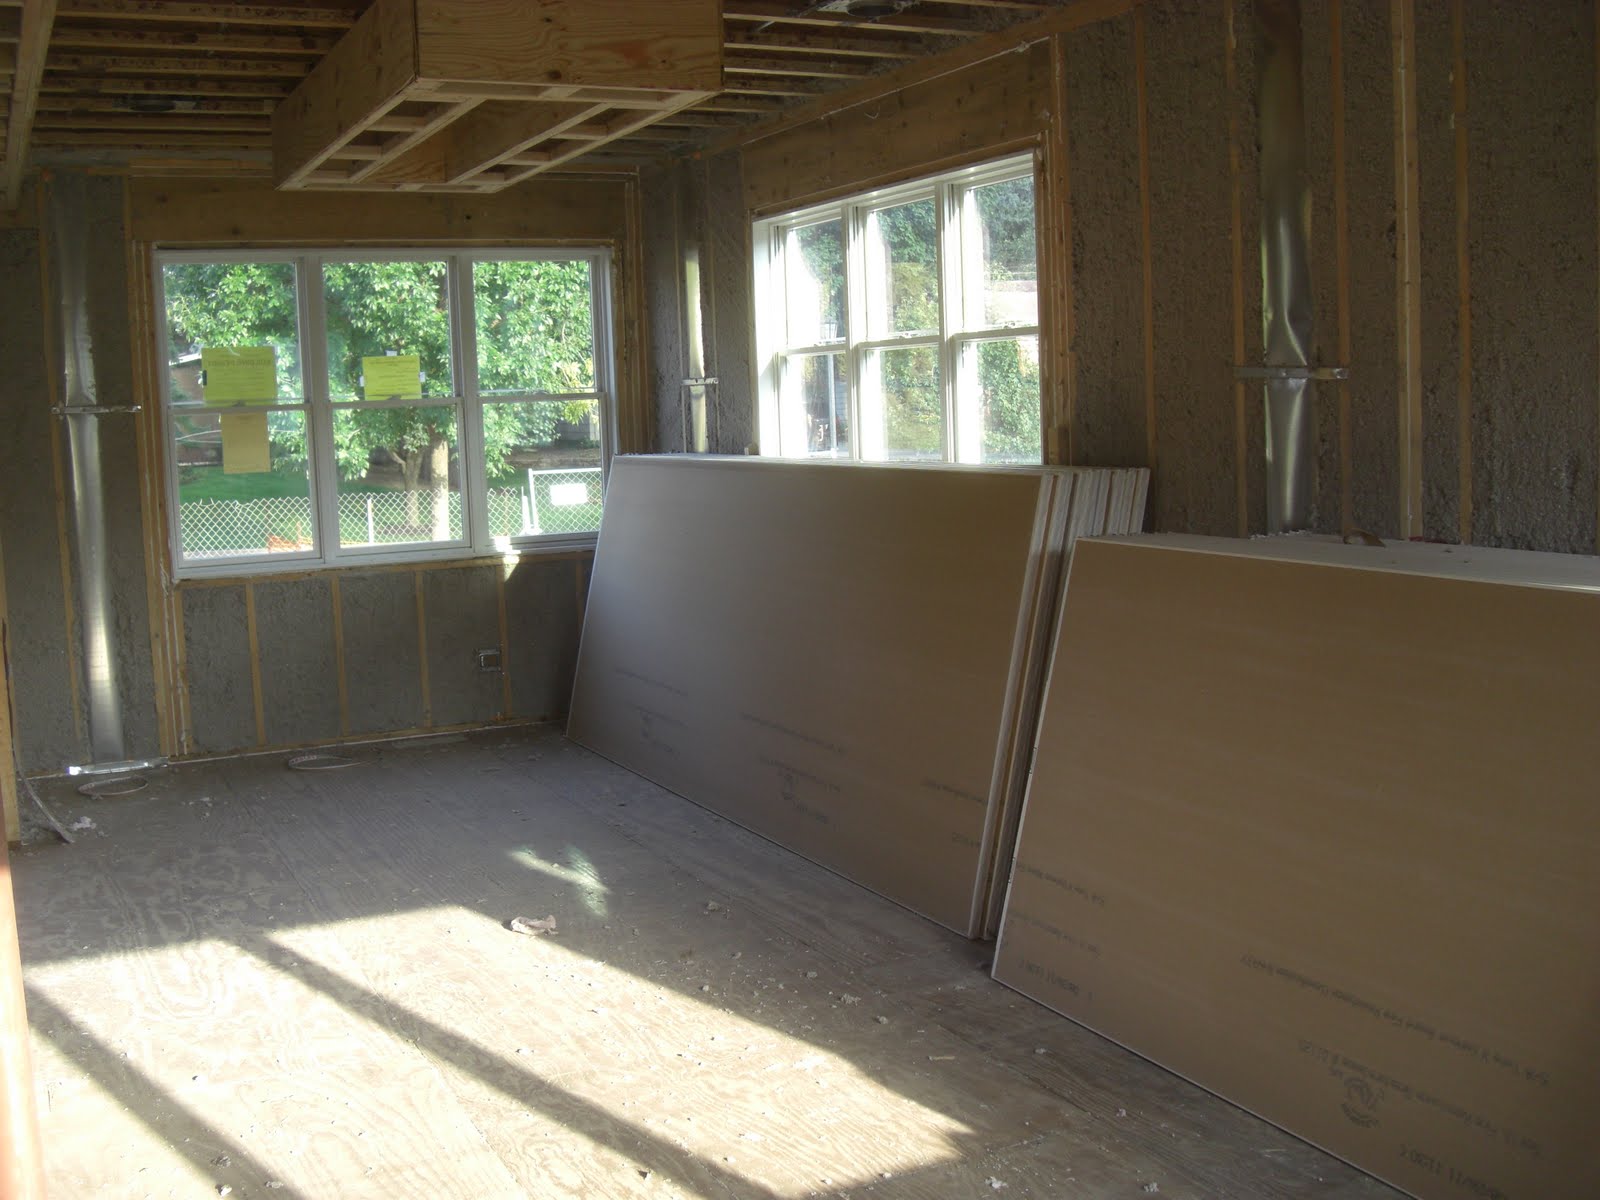
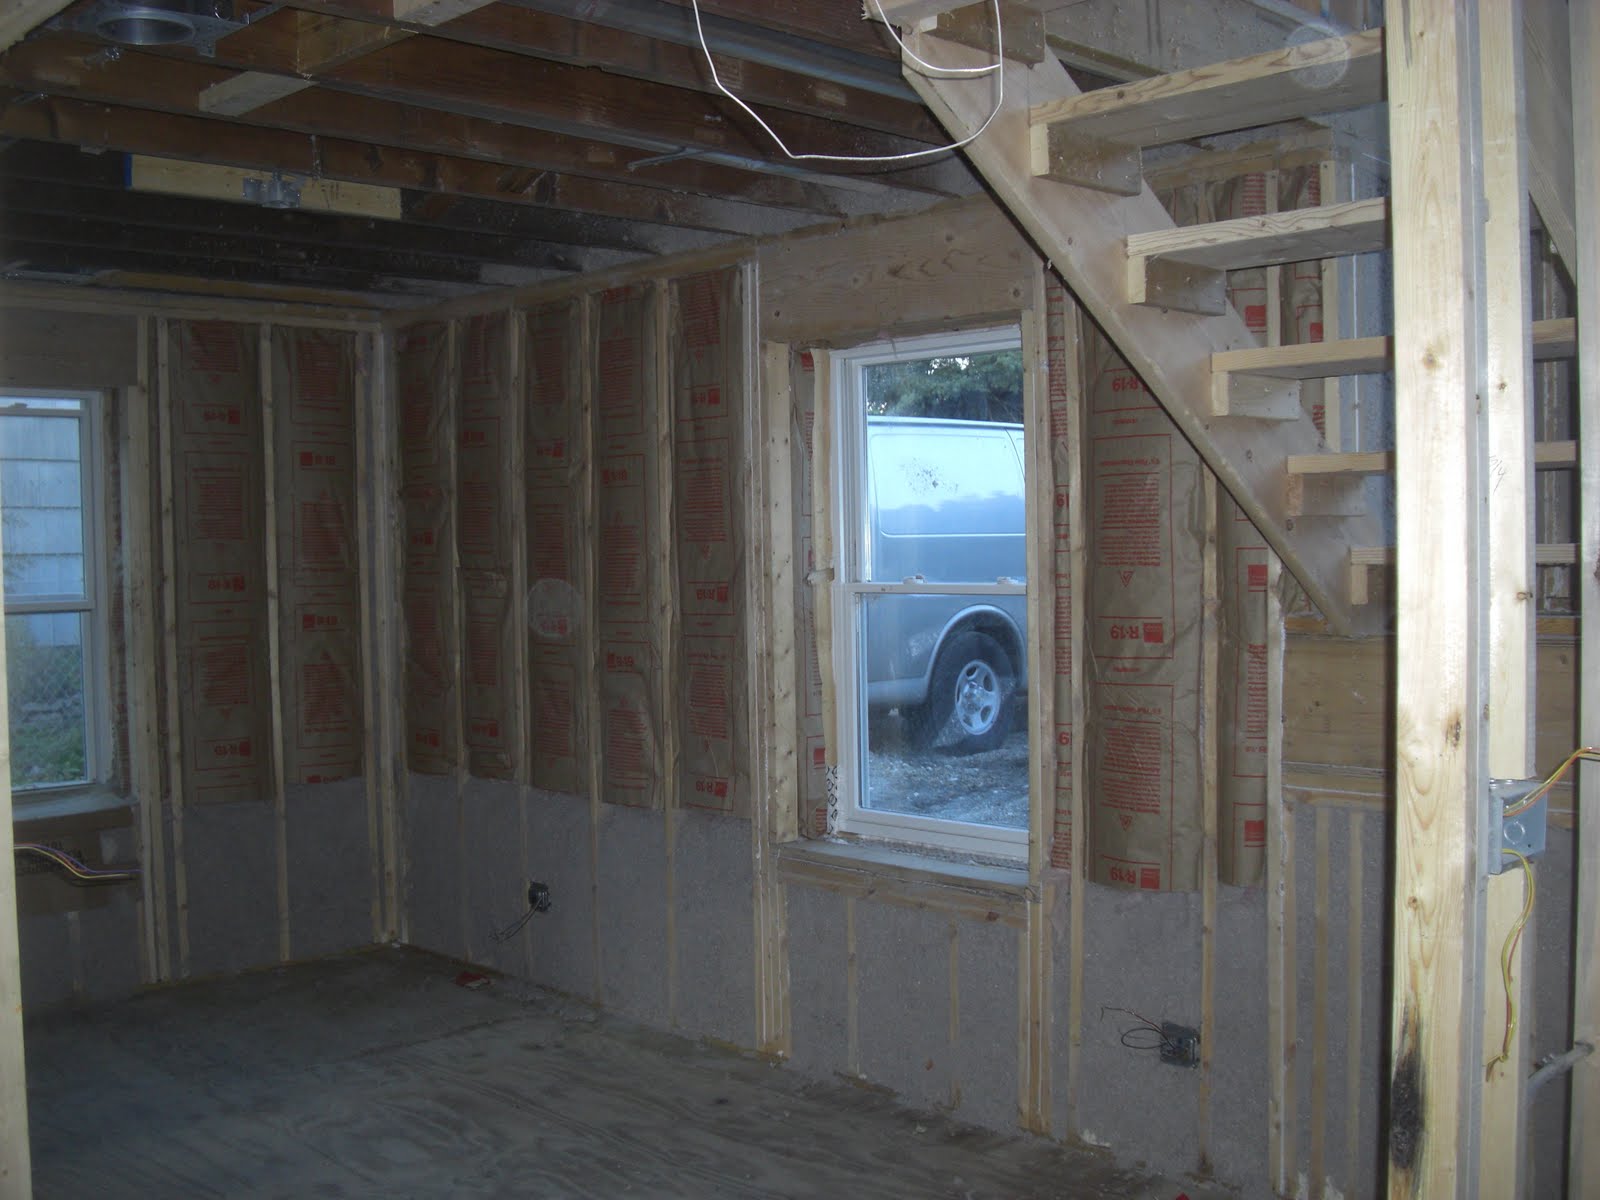
Here is part of the third layer of batt insulation. These are R19.

Guest room with batt insulation.

More batt insulation. You can see the cutoff where the cinder blocks are located and only spray foam and cellulose are there.

Batt insulation in the fireplace room.

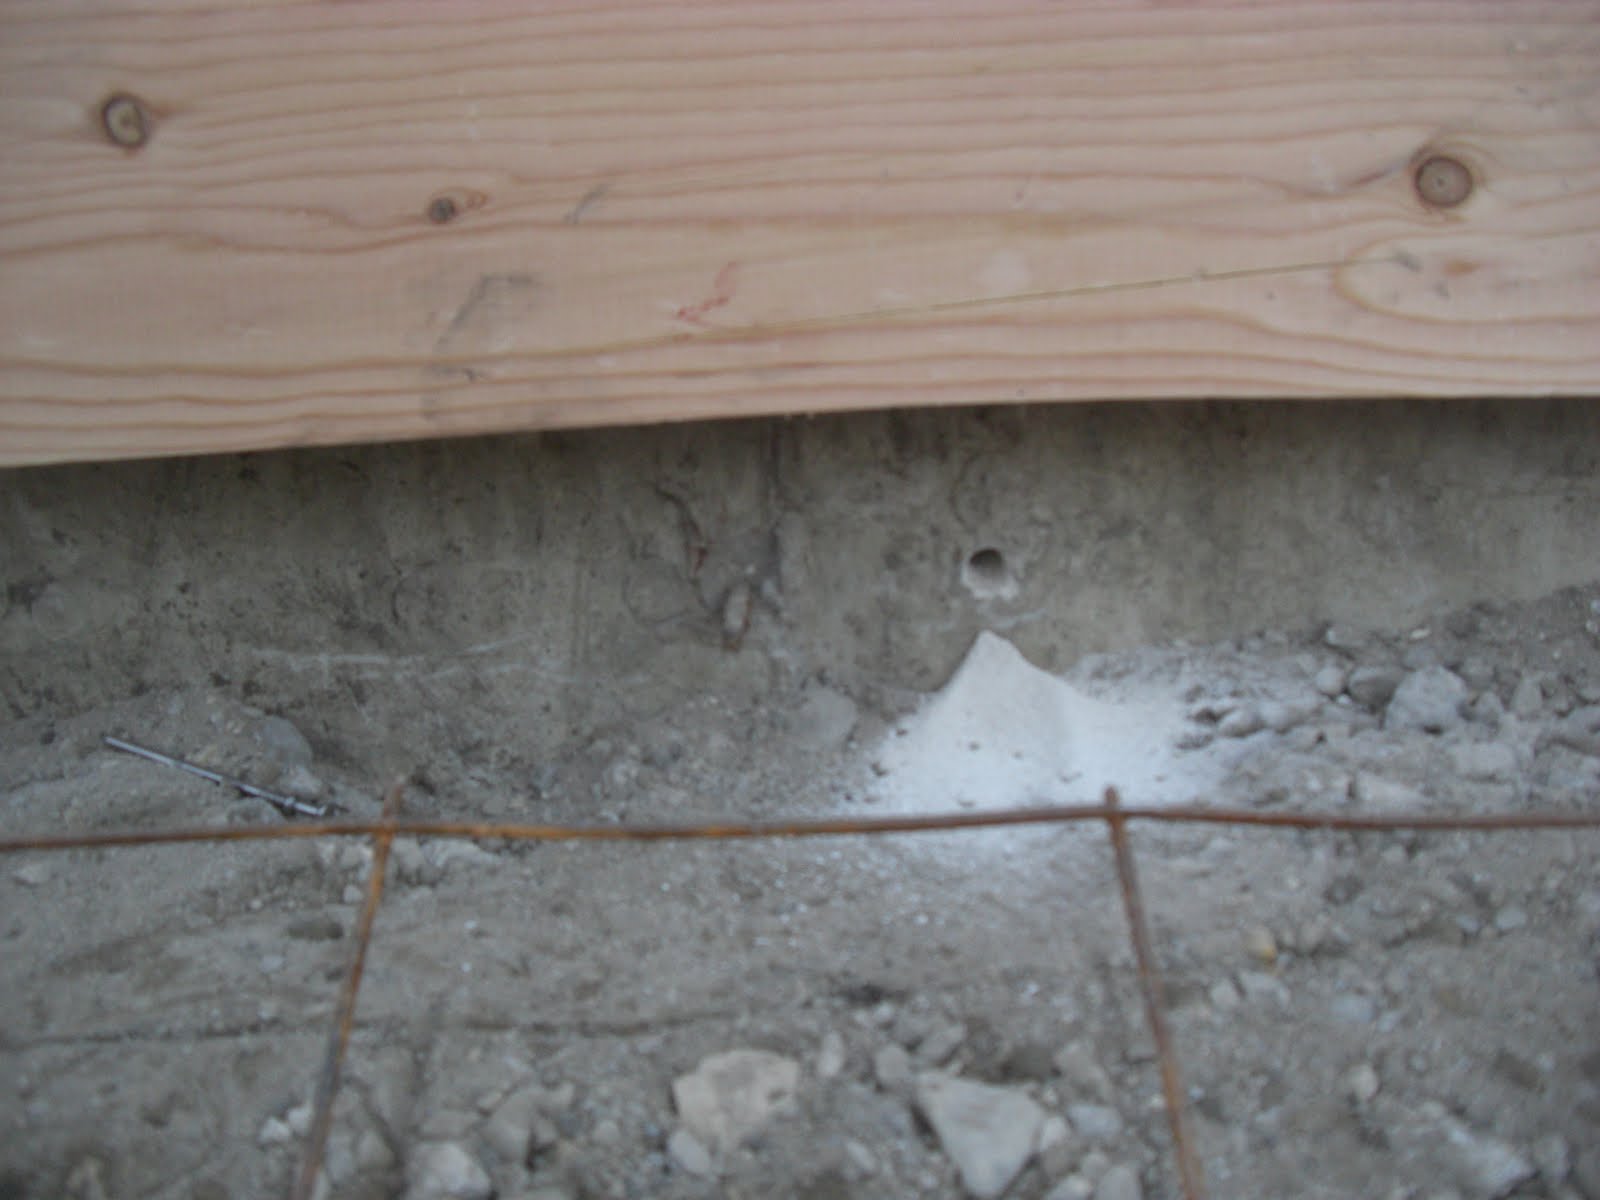
Here they excavated out the window wells and connected the drain to the drain tiles.

Here are the two new windows for the window wells.

Here is a shot of the emergency escape ladder.

A view from above. There is a drain tile that has a drain right next to the window.

Here are the data cables that have been pulled to their locations.

Here is a early shot of the electrical panel. I will get an after shot when John is done hooking everything up. We may need to get a pony panel since we have so many circuits.

Wires ready for final connection to the electric panel.

Light switch in Kathleen's room.

Many a wires.

Neatly twisted lines.

Her is an outlet that will have data lines next to it.

Wires around cellulose.

More wires and data cables.

This is the vent for the furnace. There is also one for the hot water heater.

Here is rough grading in the back.

Rough grading in the front of the house. No more dirt piles.

The southern grading.